cannabis infused heart shaped lollipops

Cannabis Infused Lollipops

How to Make Easy Cannabis Infused Lollipops

Medical cannabis in Florida is in it’s infancy. Current legal limitations prevent us from buying marijuana plants, buds, flower, or edibles. It does not, however, make it illegal to use the products we are permitted to buy in our own recipes. It is also not illegal to enjoy making your medicine so let's have some fun with cannabis infused lollipops.

Working from plant matter, the process for making an extract or concentrate can be quite complicated. Fortunately we have access through Trulieve to a product called TruClear concentrate. It’s highly concentrated. You get approximately 875mg per 1ml of product. This makes it incredibly easy to cook with and easy to determine the strength of the edible. It’s as simple as adding the desired amount of product to your recipe at the appropriate time. You don’t need to adjust the liquid or dry ingredients to compensate for the volume of the cannabis extract. For a novice, this is perfect.

It only took a minute in my mind to decide that I was going to try making some edibles of my own with the TruClear concentrate. I have had edibles before, but they were really strong-tasting and I didn’t enjoy them. The ratio of cannabis oil to volume in the TruClear makes it easier for those of us who aren’t necessarily looking for the distinctive cannabis flavor in our edibles. The recipe that follows is pretty simple. As long as you have patience and some hot soapy water in your sink, you can probably pull this off.
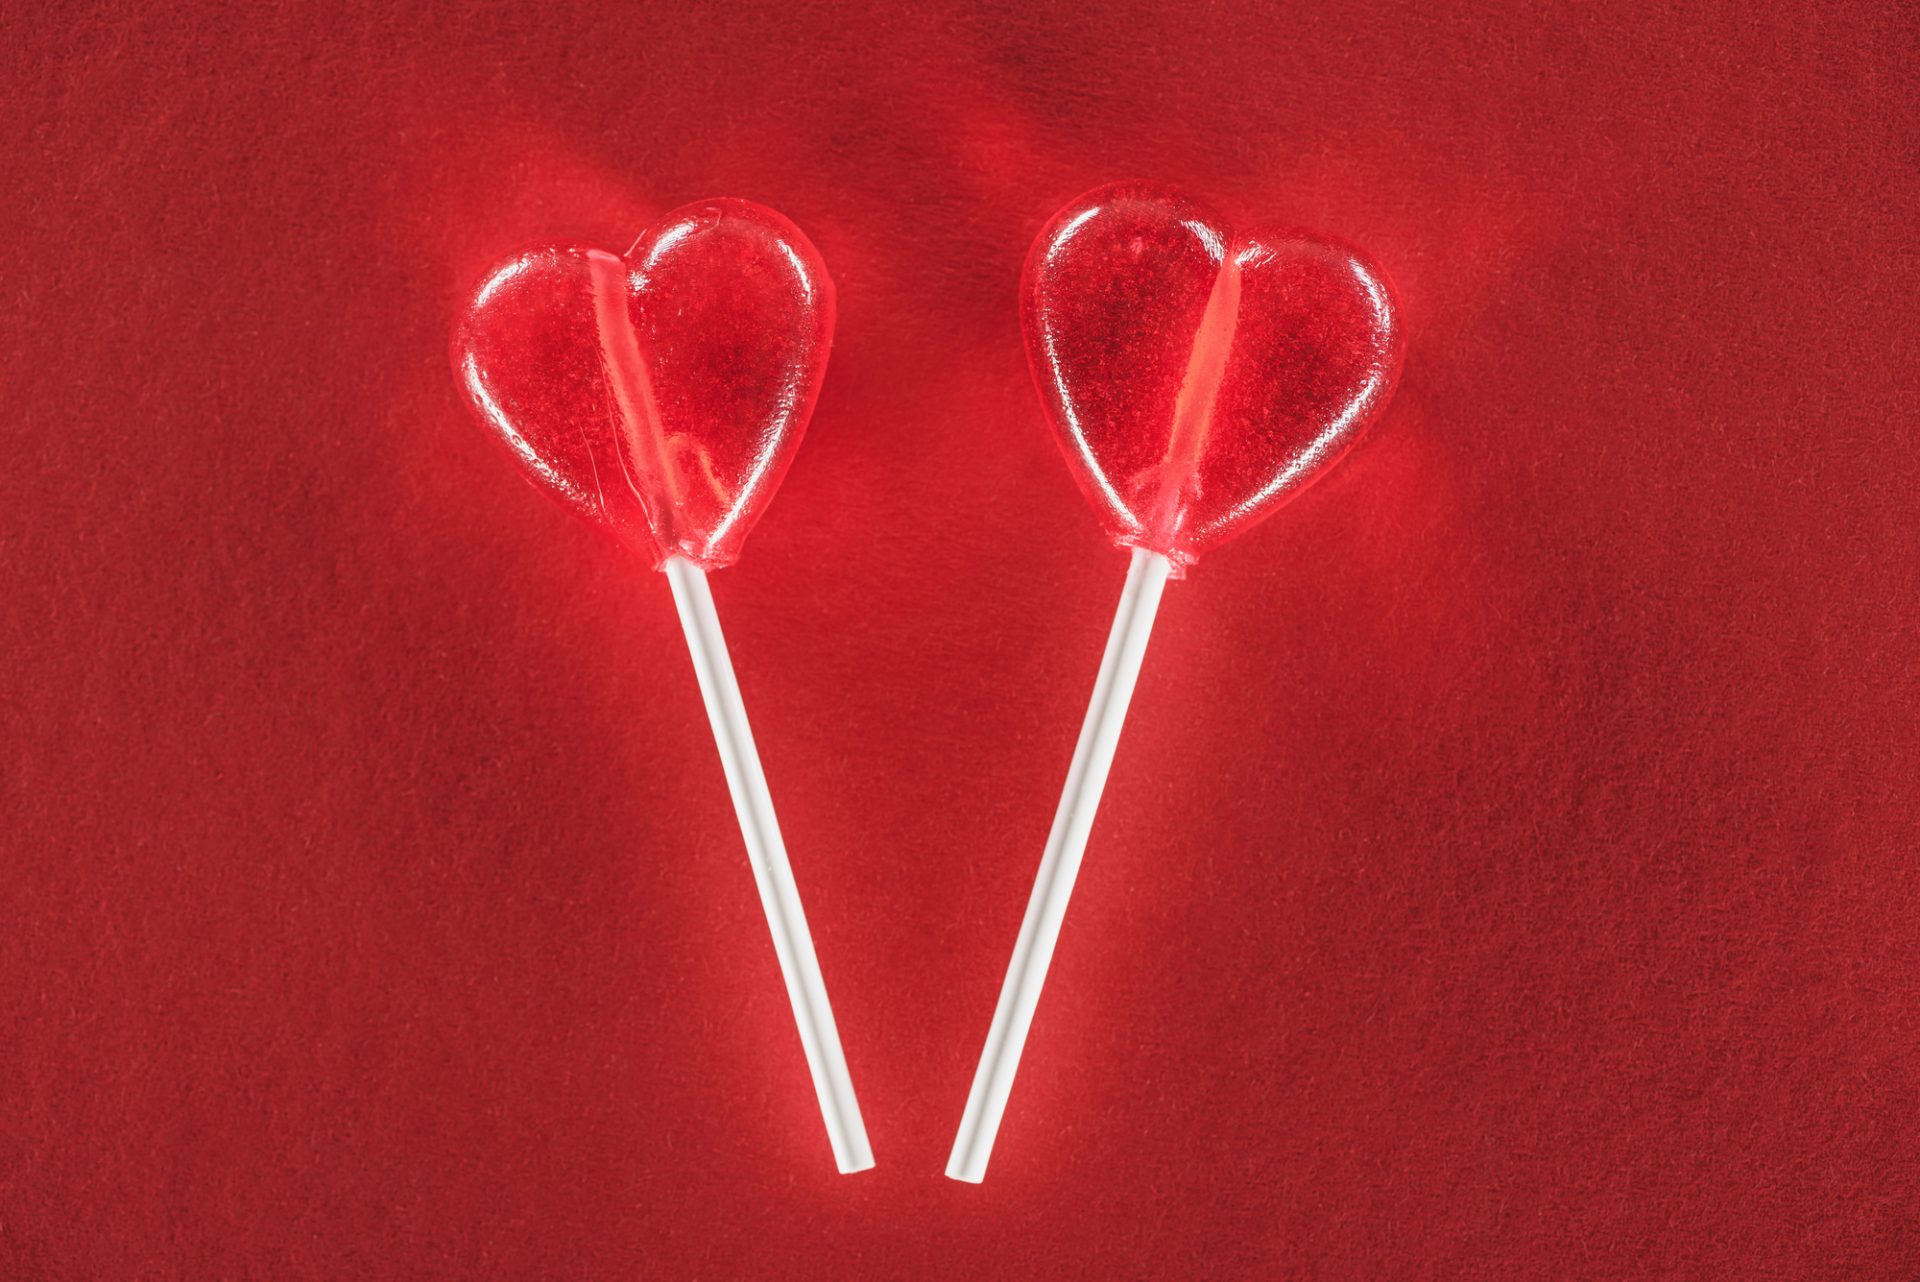
cannabis infused heart shaped lollipops
Total Time Needed: 30 minutes

Ingredients

- 1 cup white sugar
- 1/2 cup light corn syrup
- 1/4 cup water
- 1 1/2 teaspoon extract of your choice (less if concentrated)
- 1/2 teaspoon citric or tartaric acid (optional – helps with flavor)
- Food coloring (optional)
- Lollipop molds and sticks
- TruClear concentrate (or other concentrate of your choice)

Things Needed

- Medium pot
- Spoon, preferably silicone since things don’t stick to it
- Candy thermometer (a meat thermometer will work with chocolates but it does not go high enough to use with this recipe)
- Measuring cup
- Basting or pastry brush
- Apron (Trust me. Seriously.)
- Parchment paper, wax paper, or specially designed lollipop wrappers
- Cellophane wrap does not work well with these candies. It likes to stick. Ask me how I know.

Procedure

Before you begin - Tip #1
It will be a lot easier if you premeasure the sugar, water, citric acid if you’re using it, end corn syrup before you get started. This, of course, doesn’t mean that you can’t change your mind about the flavor or the color of your lollipops right up until the time you pour them into the molds.
Before you begin - Tip #2
If you are using silicone molds, all you need to do is put the lollipop stick where it goes. Other kinds of molds will require the use of grease, butter, or nonstick cooking spray to keep the candy from becoming permanently attached. If you’re not using a silicone mold, please make sure that the mold is rated to hold candy. The plastic molds you get for chocolates are often not made to hold up to the high temperatures required for hard candy. You don’t want to be spending the next four days cleaning lollipop goo off of your counters.
Before you begin - Tip #3
It’s a smart idea to put the molds on something other than just your counter. This way, if you’re anything like me, anything you spill will go on whatever you have laying under the molds. I like using wax paper. Once the candy hardens, it’s easy to get it off. If your molds require greasing, nonstick spray is the easiest way to go. Spray the mold lightly, and then, using a paper towel, blot up all but a very thin layer of the oil. Put the sticks in the molds. Side note: if you buy your molds online, those cheap plastic sticks are awful for making these lollipops. Regular paper lollipop sticks fit the molds better, and they don’t flop out when you’re pouring hot liquid into the mold. I threw my plastic sticks away. They are worthless.
Before you begin - Tip #4
Put your apron on. This is important unless you want to walk around with little pieces of candy all over yourself. If you don’t have an apron, please don’t wear something that’s important to you. If you use good quality food coloring, it’s permanent. It will not wash out. Ask me how I know. It’s really worth taking effort to put on an old shirt instead of wearing your favorite tee and ending up with a bright red blotch on the front of it.
Step 1 : Combine sugar, corn syrup, and water in a medium pot over medium high heat.
Stir this until the sugar dissolves. Get the pastry brush wet with water and brush down the sides of the pot to the level of the liquid. This will help prevent the formation of rock candy on the sides of your pot when the sugars are boiling. I usually go over the sides of my pot twice to make sure they are nice and wet.
Step 2 : Once the liquid is boiling, insert a candy thermometer into the pot.
Allow the liquid to boil, without stirring it, until the candy thermometer reads 295 degrees Fahrenheit or 146 degrees centigrade. You will notice the mixture thickening as it boils. This is normal. Be patient. You will want to stir the liquid. Don’t. It interferes with the chemical process that makes this wonderful combination into lollipops.
Step 3 : At this point it’s a good idea to get the TruClear heated up so it flows more easily since it is very thick.
I put the syringe in a snack size zipper bag, seal the bag, and immerse it in a cup of hot water. If you’re not sure how long it will take, you can leave the water running to keep it hot. I’d wait until that thermometer reads about 250 degrees before heating up the true clear. This boiling candy stuff can take a while.
Step 4: Once the thermometer reads 290 degrees Fahrenheit, remove the pot from the heat.
Allow it to sit until it completely stops boiling. Do not stir it until it is done boiling.
Step 5: Add TruClear, citric acid, flavoring, and coloring if desired.
The solution will foam at this point; It’s just another chemical reaction. Stir gently until well blended. If you stir too hard, your lollipops will be full of air bubbles.
Step 6: This is the fun part. It’s now time to see if you can get the candy into the molds before it solidifies.
Honestly, this works best if you have two people. However, it can be done by one person . It works best if you have something other than a spoon to fill the molds with period that being said, if the solution starts getting thick and sludgy, you can heat it up a little bit in the pot to re liquefy it. You don’t want to do it too often, but once or even maybe twice should be okay.

Remember:

  • Make sure your lollipop sticks are covered by the candy. This is another reason I prefer the paper lollipop sticks: the candy adheres to it better and the sticks don’t come out while you’re trying to unmold your lollipops.
  • Don’t worry if you make a mess. It will clean up, and part of the fun of making your own cannabis candy is that you get to eat whatever you spill. I think I enjoy that part of the process more than any other one!
  • Make sure your molds are flat while your candy cools. If you need to move them for whatever reason, please do so slowly and use both hands. Cookie sheets are a good place to let them cool. It will take up to several hours for the candy to set. Don’t be in a rush. Make sure the molds are totally cool before removing the lollipops.
  • When I remove my lollipops from the molds, I usually put a piece of waxed paper on the counter and then invert the molds to loosen the candy onto the paper. This has two benefits: first of all, the lollipops don’t stick to the waxed paper, whereas they would stick to my counter. Secondly, it’s easier to clean any broken pieces of waxed paper than it is to get it off said counter. I use a small knife or my hands to remove any extra candy hanging off the back of the lollipops from the mess I made when I put the stuff into the molds. I put it in a bag with what I scraped out of the funnel after pouring the candy and I have a little baggie full of leftovers to munch on. Things could definitely be worse.

Quick Tip

I bought a Wilton funnel that has a manual controller on it to allow me to pour the liquid into the lollipop molds. It was probably one of the best investments I’ve ever made… or it will be, once I figure out how to use it without making a big fat mess. The nicest thing about it is that once the candy mixture cools, you can peel it right off the sides with a knife. It also soaks clean very easily in hot soapy water. You’re either going to need one of these or something else to transfer your liquid lollipops into the molds. It has to be done fast in order to keep you from ending up with a solid lollipop in your pot. I have experience with this.


SHARE THE KNOWLEDGE

LEAVE A COMMENT

Leave a Comment

infused lemon ricotta pancakes
Chef Mary

Cannabis Infused Lemon Ricotta Pancakes

How to Make Cannabis Infused Lemon Ricotta Pancakes These cannabis infused lemon ricotta pancakes are light and delicious – a perfect cannabis entourage effect. The lemon is just a kiss of freshness and the blueberries are fresh as I picked them at a local blueberry farm. They embody Springtime in just one bite and because

Read More »
3 minute cannabis edible
Lisa Colando

3-Minute Cannabis Edible

How to Make 3-Minute Cannabis Edibles No, really! It seriously only takes three minutes to make these 3-minute cannabis edibles. There are just two main ingredients, chocolate and distillate, to make this incredibly delicious cannabis infused treat. If you are a fan of microdosing, this is an essential recipe. Medicating has never been so easy.

Read More »
coconut, cannabis infused coconut oil, and palm frond
Gregg Pulisciano

Cannabis Infused Coconut Oil

For me, cooking is like therapy and makes me feel really good, particularly when it’s with cannabis. I’ll be the first to admit that I have a love affair with both food and cannabis. So much so, that I started a local Facebook group called “High Level Cooking.” With HLC, I set out to share various

Read More »
You must be atleast 21 years of age to visit this site.

A note to our visitors

This website has updated its privacy policy in compliance with changes to European Union data protection law, for all members globally. We’ve also updated our Privacy Policy to give you more information about your rights and responsibilities with respect to your privacy and personal information. Please read this to review the updates about which cookies we use and what information we collect on our site. By continuing to use this site, you are agreeing to our updated privacy policy.

Scroll to Top